With GreenSlate, creating and submitting your grossing is quick and easy once the timecard hours are approved. During grossing, the hours approved during the timecard hours approval flow can be overridden or reject back to the hours phase.
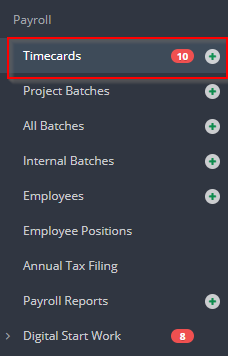
Step 1: Under Payroll on the left, click TIMECARDS.
Step 2: Click REVIEW in the Approval column or on the timecard number of the timecard you would like to gross.

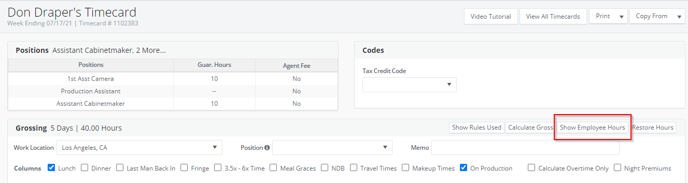
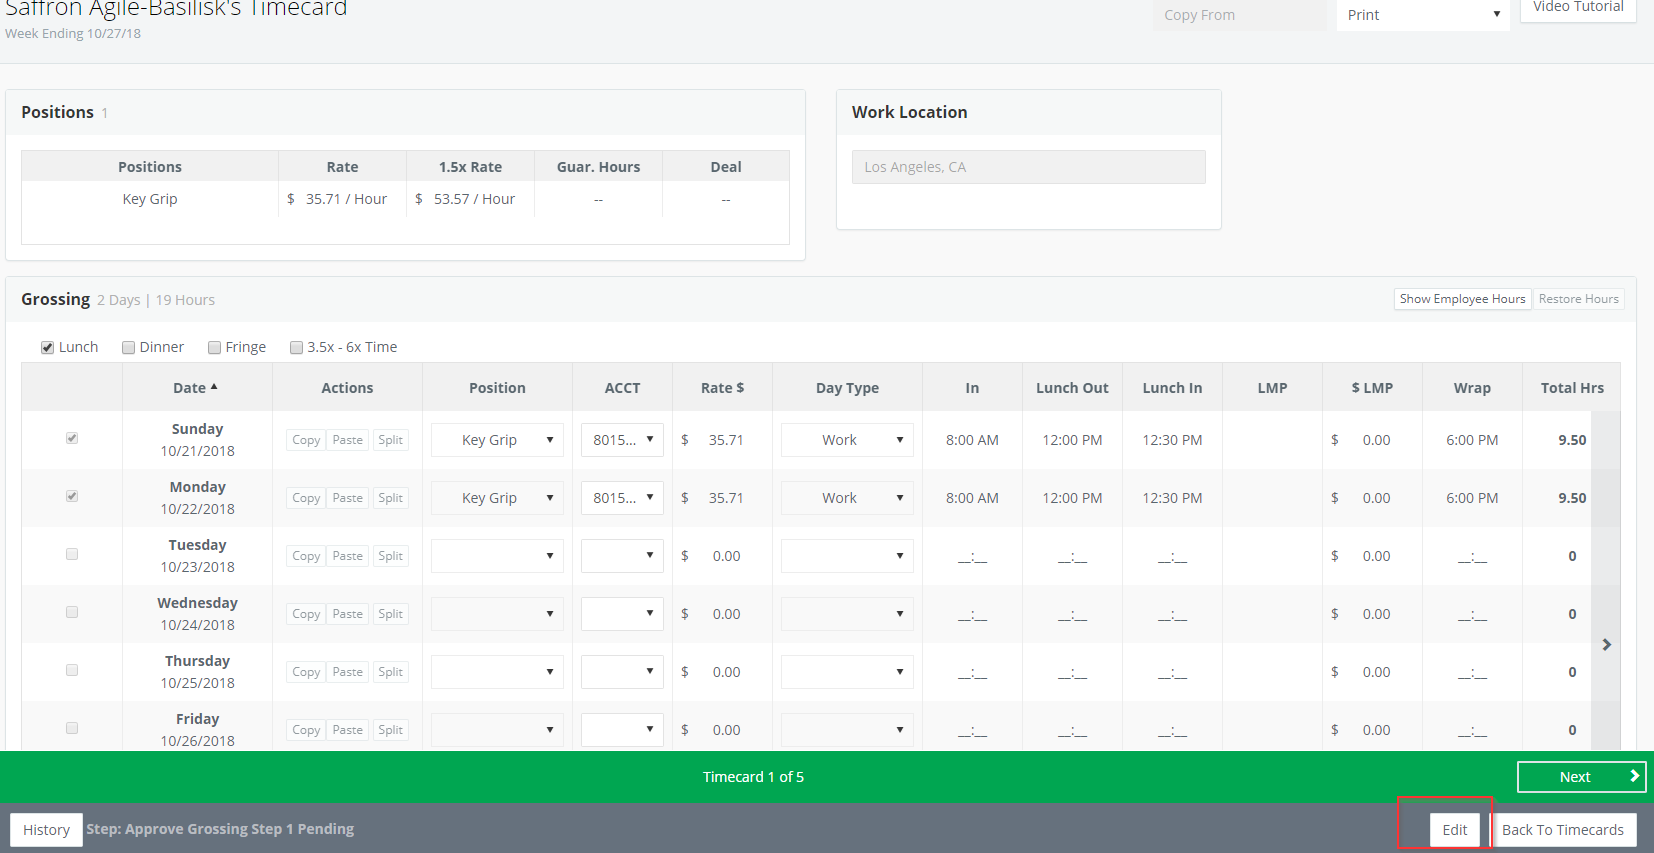
To review the Hours grid of the timecard that was approved, click SHOW EMPLOYEE HOURS and a new window will open to view.
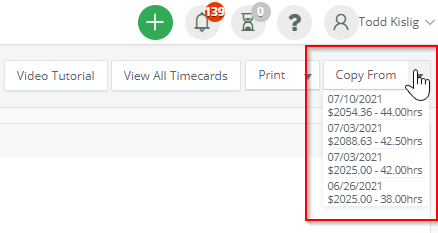
If this timecard will have the same grossing as a previous week, click COPY FROM in the upper right then select the timecard to copy. You will be able to select from the 4 most recent timecards processed.
Step 3: Make any necessary edits to the columns on the timecard.
Columns on the Timecard:
- Actions: You can use the Copy/Paste feature to enter the hours for one day, then copy and paste them to another day(s). You can also use the Split option if the employee's day needs to be split for reasons such as two different positions with different rates being worked on that same day.
- Worked: If the actual times do not have to be entered, you can check the Worked box to mark that the employee worked that day. (You can enter his/her hours in the Hours column to calculate.)
- Date: Days of that week's timecard.
- Position: The position the employee worked that day.
- Acct: The expense account that the payroll should be coded to. If you are using GreenSlate Accounting, this drop down will show accounts from your chart of accounts.
- Rate $: Rate for the position. Can be overridden if necessary.
- Day Type: Work, travel, vacation, etc.
- In: Start of work day.
- Lunch: Start/end and meal penalty (MP) if applicable.
- Dinner: Start/end and meal penalty (MP) if applicable.
- Wrap: End of work day.
- Total Hrs: Total hours for the day.
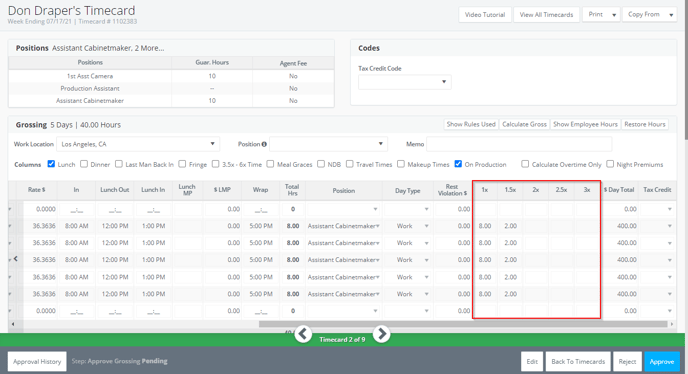
- Hours: Enter in the amount of hours for each column based on how much the employee should be paid for those hours. For example, if an employee works 10 hours and they should be paid his/her hourly rate for the first 8 then 1.5X his/her hourly rate for all additional hours that day, enter 8 in the 1X column and 2 in the 1.5X column.
- $ Day Total: Total pay for that day.
NOTE: If you would like to utilize episode/location codes, free field codes, or tax credit codes on the project, please contact support and we can enable them for you. They will appear as an additional column when grossing.
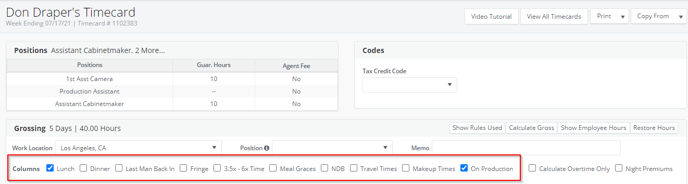
Step 4: Add additional columns if needed.
- Lunch: Lunch In/Out and MP
- Dinner: Dinner In/Out and MP
- Fringe: Fringe code for employee
- 3.5x-6x Time: Additional OT options in the Hours Multiplier section (for hourly rates only)
- Last Man Back In
- Meal Graces
- NDB
- Makeup Times
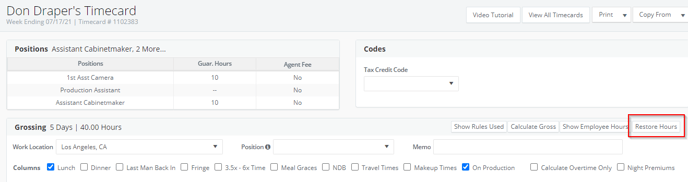
If you would like to reset the grid after making changes, click the RESTORE HOURS button and the timecard will revert back to the hours that were initially submitted/approved.
Step 5: Divide the employee's Total Hrs between the appropriate Hours multiplier columns. NOTE: If the employee is OT exempt, these columns do not need to be completed and will not be on the grid.
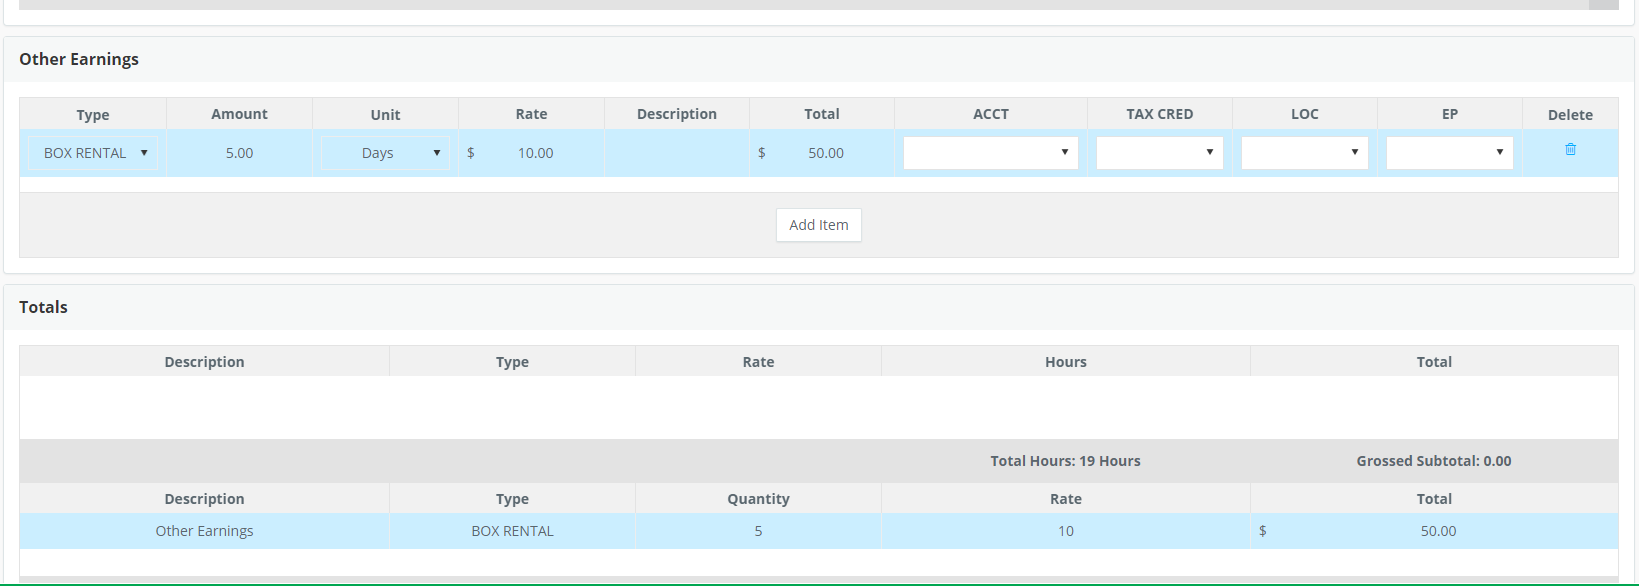
Step 6: In the Other Earnings section, click ADD ITEM to add on anything the employee should be given compensation for, or you can edit the items that were already added when submitting hours.
Step 7: In the Deductions section, click ADD ITEM to add on anything the employee should be withheld compensation for.

If you would like to leave a note for anyone else involved in the timecard grossing approval, you can enter it in the Notes section. You can have a private conversation with the other approvers in the timecard grossing approval flow. These notes cannot be viewed by the employee.

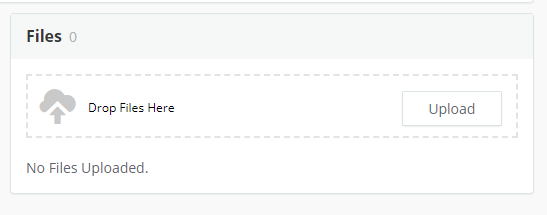
If you would like to add an attachment to the timecard, click UPLOAD in the Files section or drag and drop a file.
Step 8: Once all hours have been grossed and any earnings & deductions or notes have been entered, click SUBMIT.

If you've made a mistake when grossing and it's been submitted, you can access the timecard again by clicking on the ID from the Timecards page and then click EDIT to make changes. This option is only available if the timecard has not yet been approved by the person approving the grossing you are submitting.
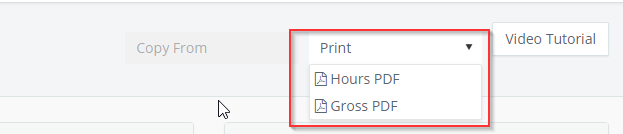
To print a PDF of the timecard, click PRINT then HOURS PDF.