With our custom grid views feature, you have the ability to create a grid view that contains the information of your choosing and to save this view for future use. This feature allows you to create a custom report of the data contained in that grid. This view can be exported to Excel and PDF. This option is available on the Timecards, Batches, Purchase Orders and Employees grids.
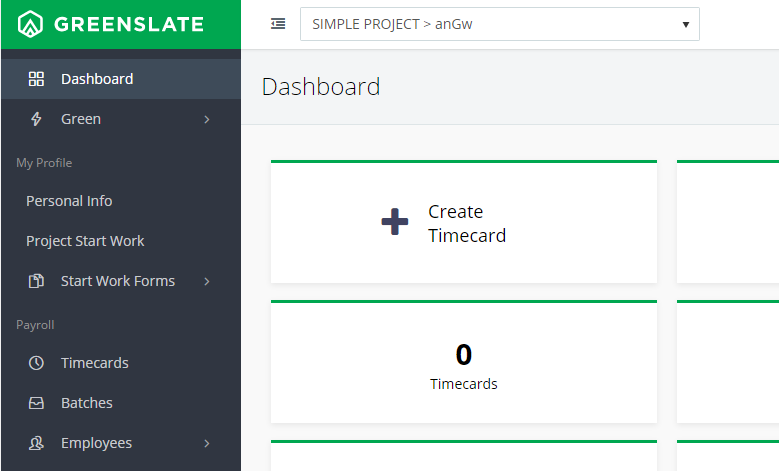
Step 1: Select the page with the grid you would like to customize from the Dashboard or navigation on the left.
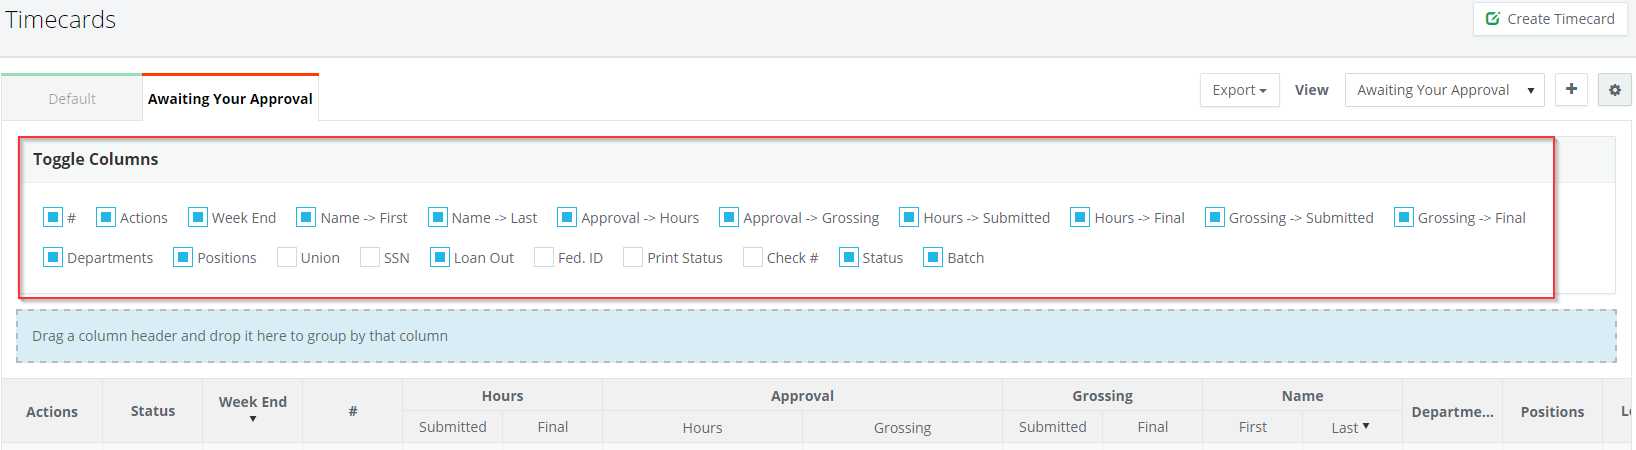
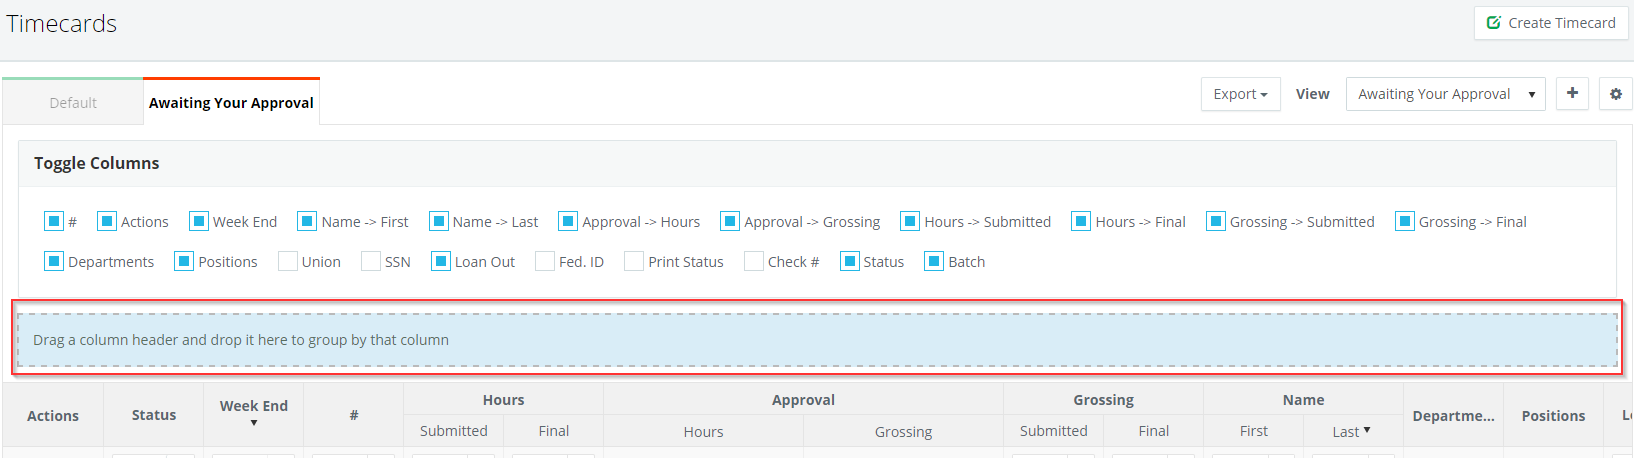
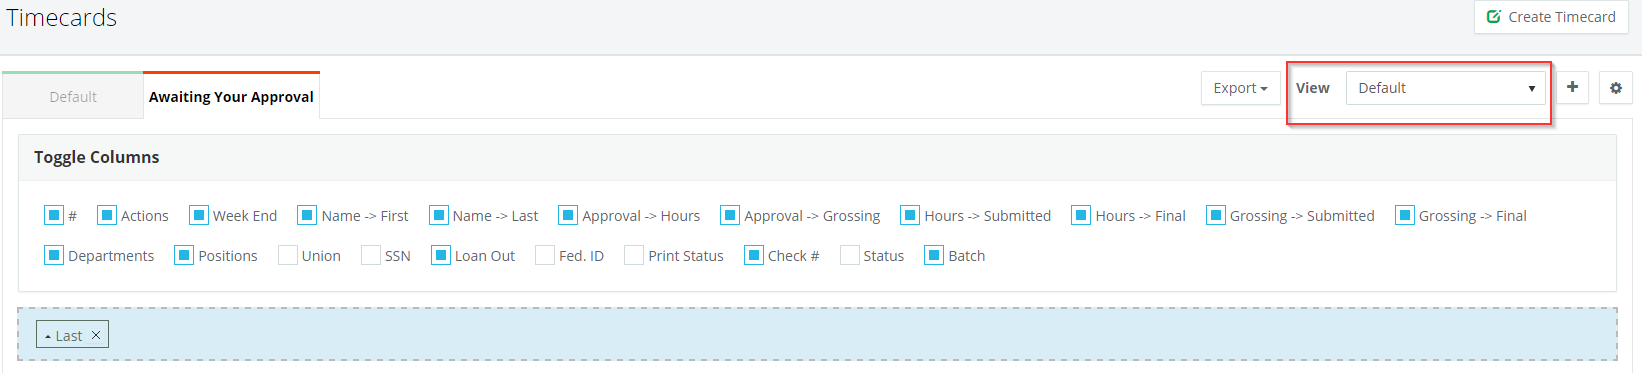
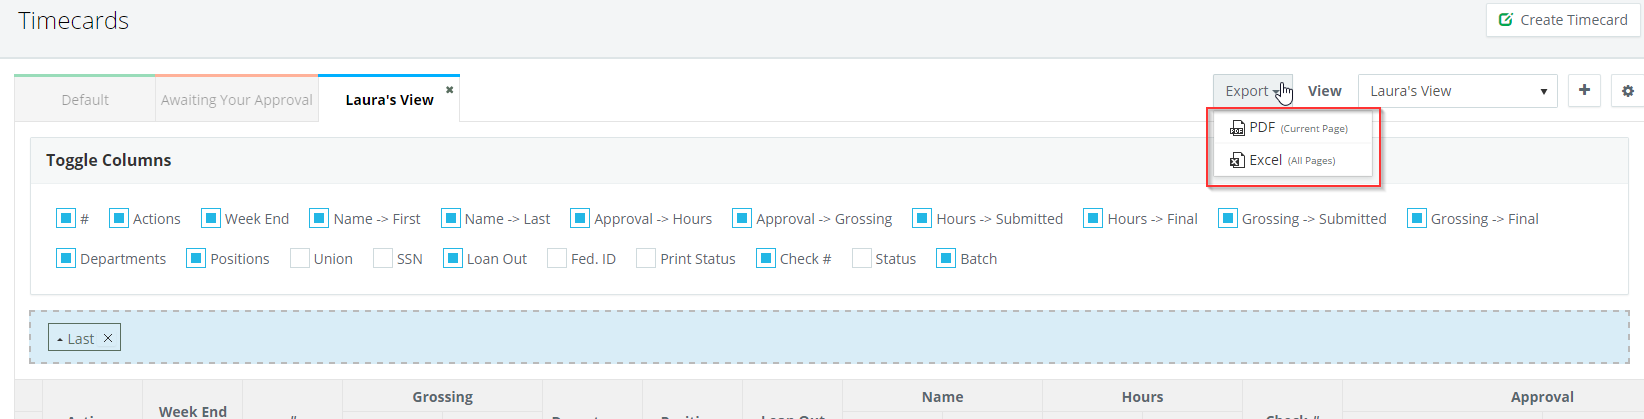
Step 2: Click the gear icon on the right of the grid.

Step 3: Click the squares to the left of each column header in the Toggle Columns section to toggle on/off the columns you would like to show.
Step 4: Drag and drop the column headers to rearrange the order the columns appear in.
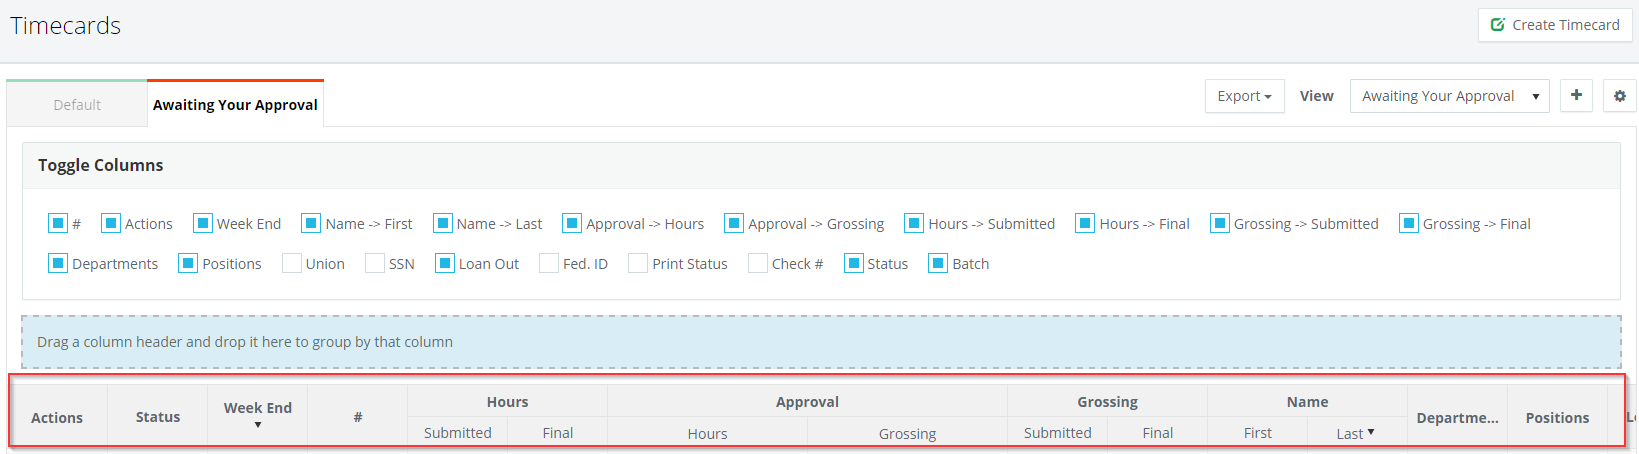
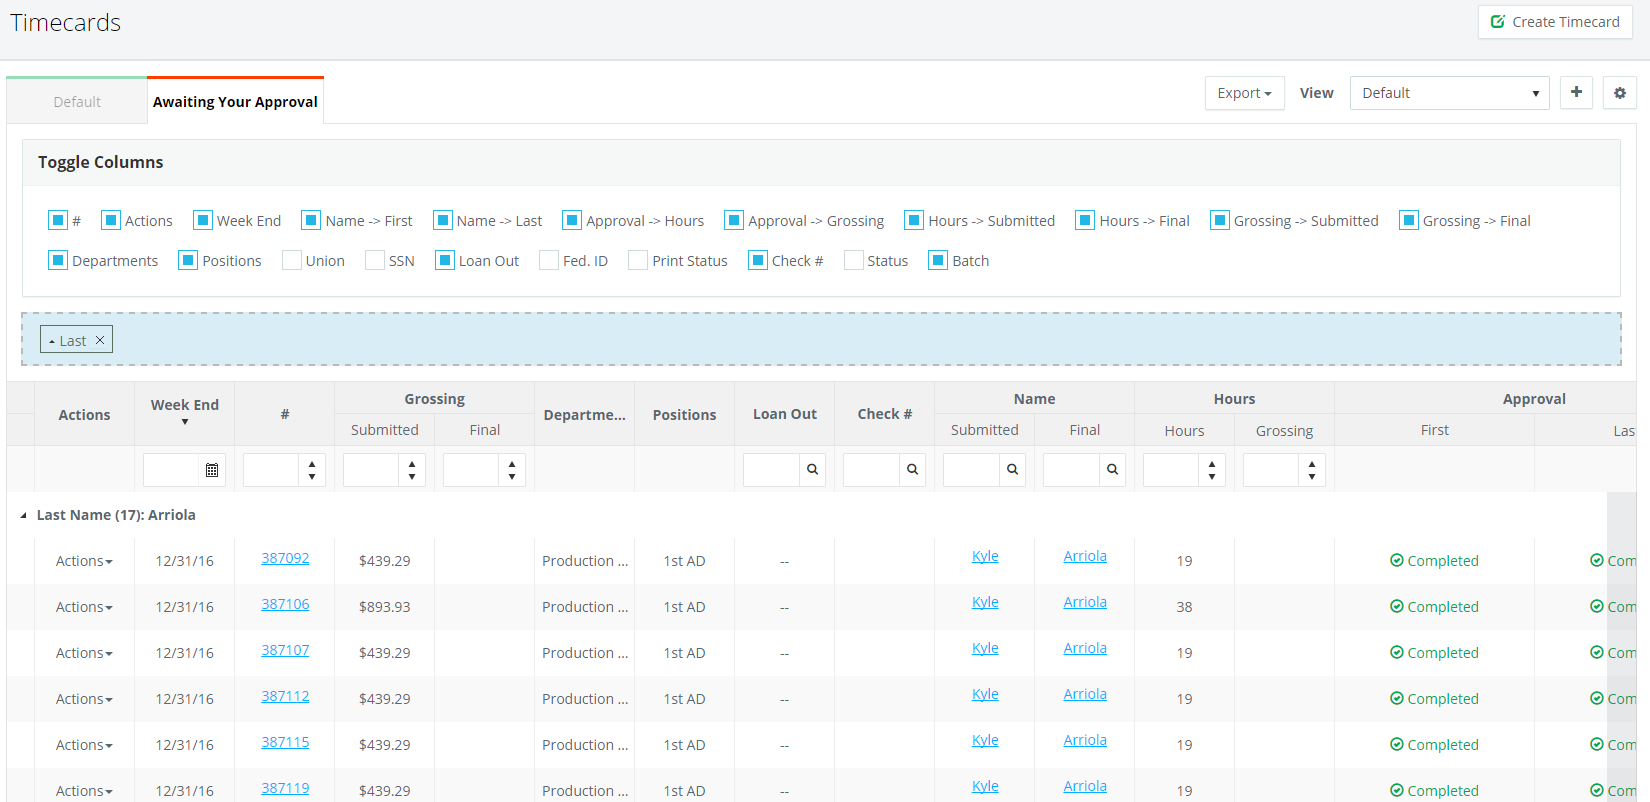
Step 5: Drag and drop a column header in the "Drag a column header and drop it here to group by that column" to group the data based on that column's information.
Example: Grouping by the Last Name column.
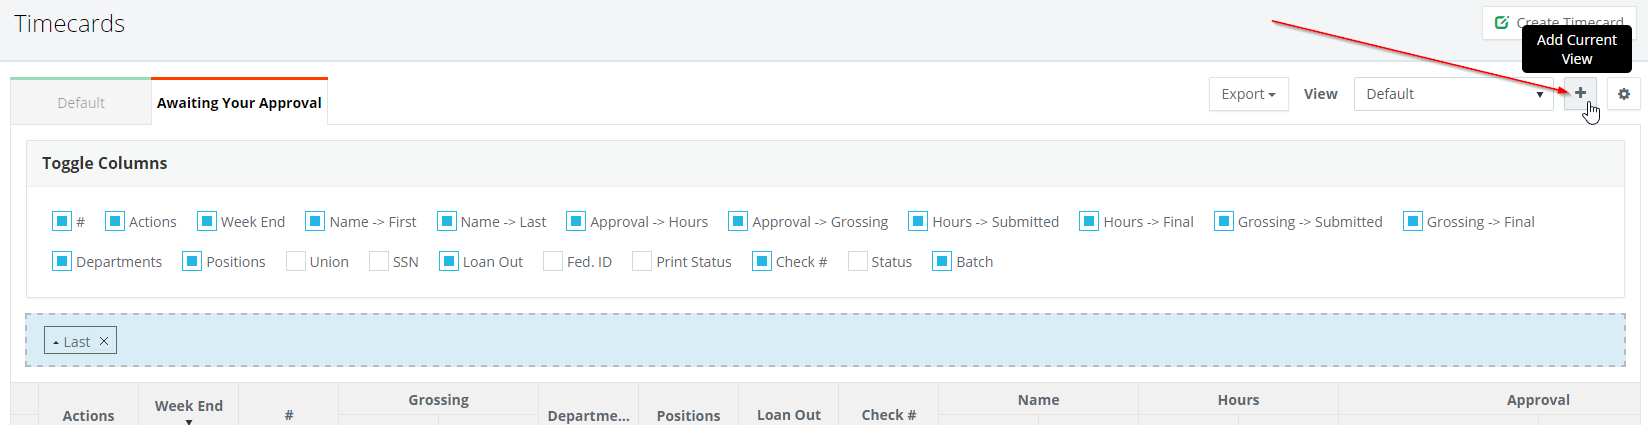
Step 6: When the grid is in the desired customization, click the + sign on the right to add the view.
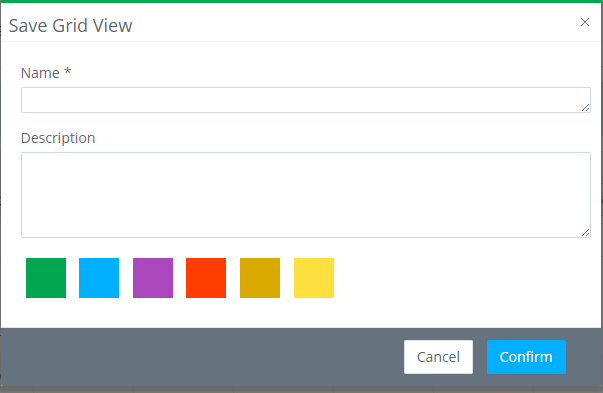
Step 7: Enter a Name and Description and select a color then click CONFIRM.
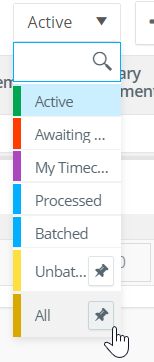
Step 8: To access the saved views, click the arrow for the Views drop down menu.
Step 9: Click the pin for the view you would like to use.
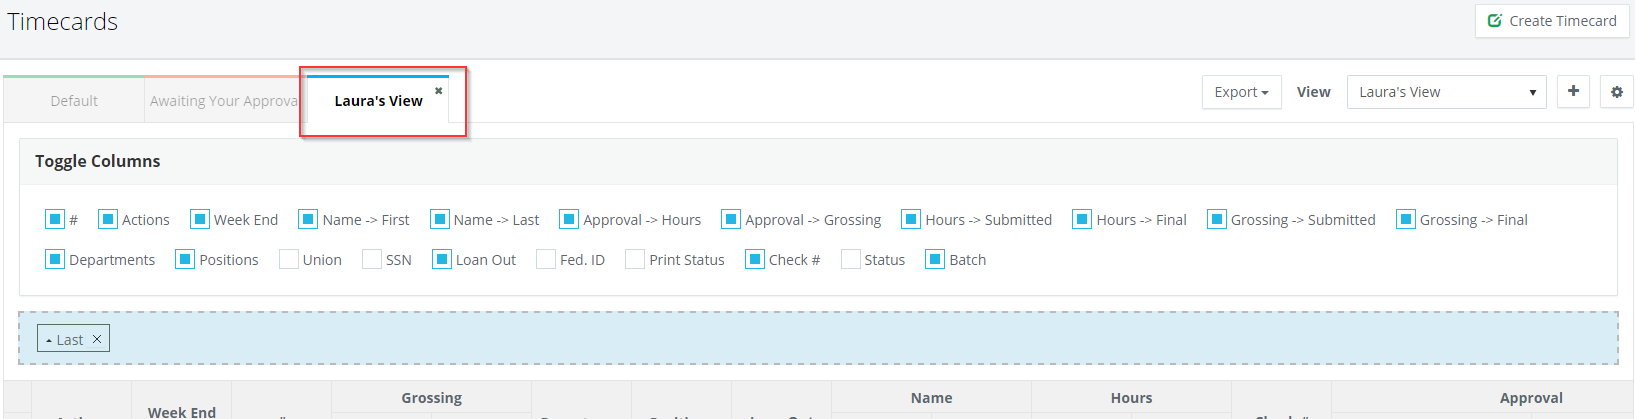
Step 10: Click that view tab to apply to the grid.
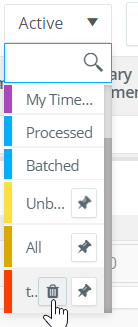
Step 11: If you decide to delete a view, click the trash can from the View drop down menu. This will permanently remove the view. If you would like to keep the view but do not want it to show as a tab at the moment, click the x on the tab and you can add it back at any time.
To Export to Excel or PDF
Step 1: Click the Excel or PDF icon to the right of the "Drag a column header and drop it here to group by that column field." A quick download will automatically begin.
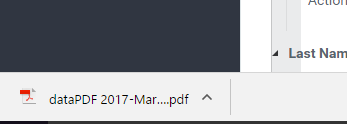
Step 2: Click the download in the lower left of the page to open.