
Create, view, and update your payroll batches from All Batches. See your batches from all projects in one place!
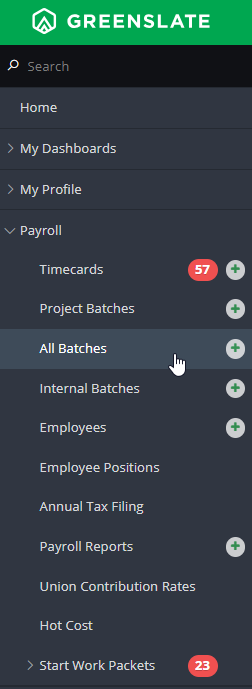
Step 1: From the left navigation, under Payroll, click ALL BATCHES.
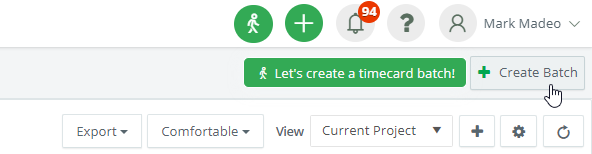
Step 2: Click CREATE BATCH from the top righthand corner.
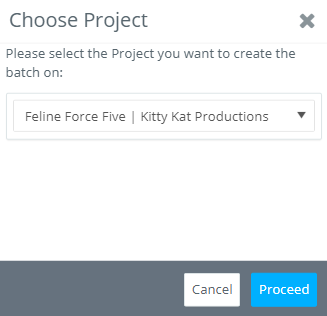
Step 3: Choose the project to create a batch for, then click PROCEED.
Step 4: Create the batch name, select the desired pay date, and leave a memo, if necessary.
Note: pay dates must be Monday through Friday and memos created on the batch level will apply to all paycheck stubs and vouchers.
Step 5: From the bottom of the screen, add the desired timecards to the batch by clicking ADD next to each timecard.
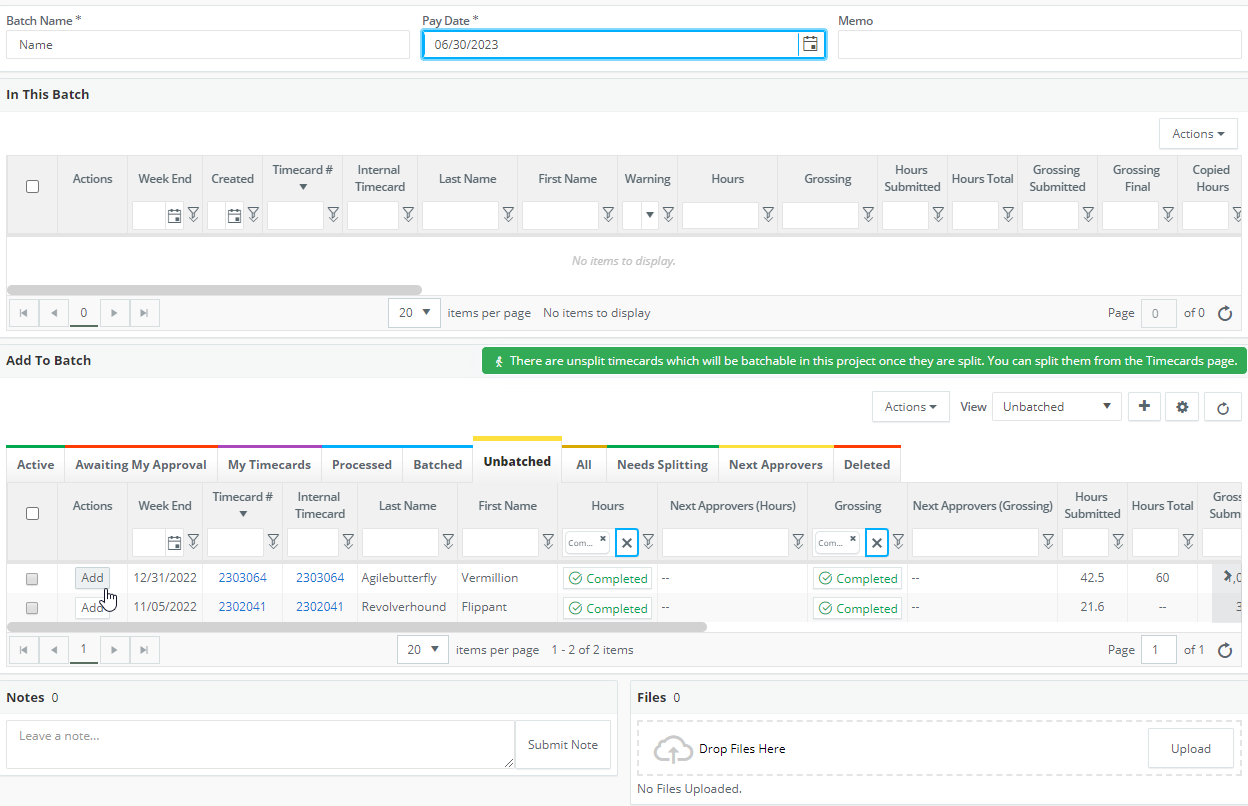
Or select multiple desired timecards and use the Actions dropdown and click ADD TO BATCH.
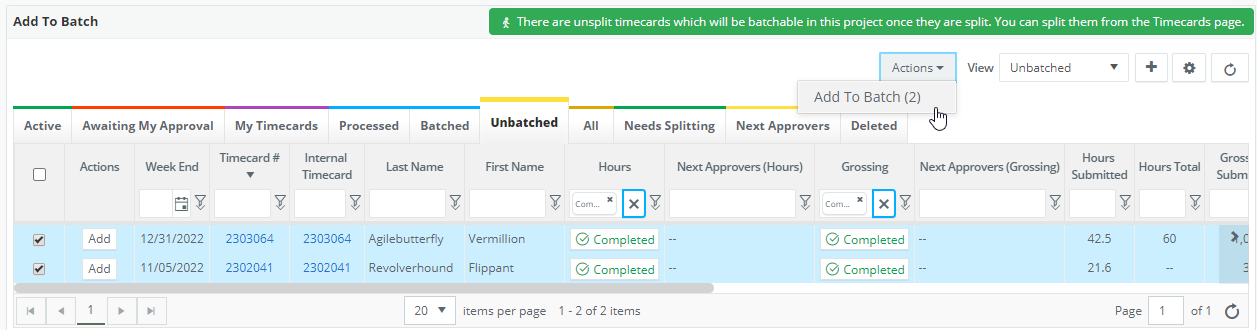
Step 6: Click SAVE.
Step 7: When the batch is ready to be sent to the Paymaster, click Actions, then REQUEST PREVIEWS.
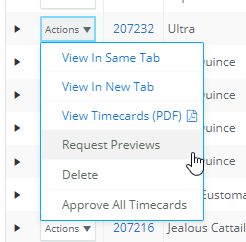
Note: if you need to add more timecards to a sent batch, you'll need to cancel the preview request. Otherwise, you'll be notified once the preview is ready for your review.