
- Help Center
- Accounting
- Assistant Accountant/Department Head
How to: Set up a PC Vendor
Adding a New Vendor
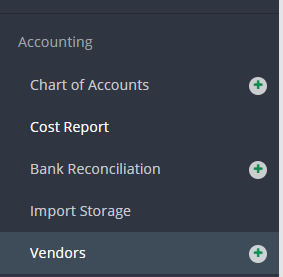
Step 1: Click the + next to Vendors on the left navigation.
Step 2: Fill out all required fields and any other information that can be completed.

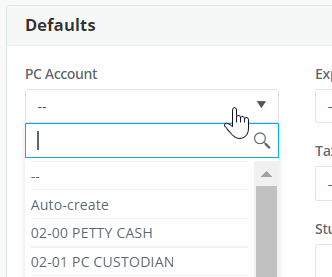
Step 3: Select a PC account from the PC Account drop down menu or select Auto-create if a new account needs to be added (the application will automatically add a new account to your chart of accounts in the PC range)
Step 4: Click SUBMIT.

Giving the Cardholder Access to Submit Envelopes
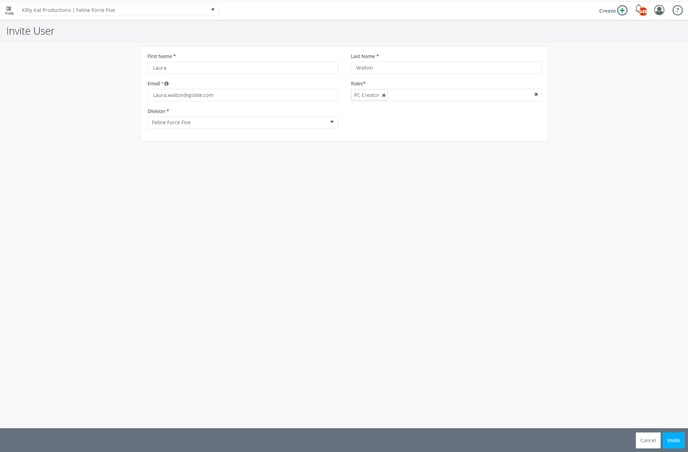
Step 1: Invite the user with role PC Creator or if they are already invite, update their access by following the steps linked here.
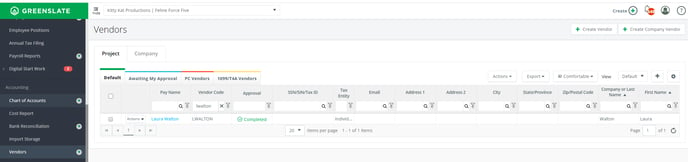
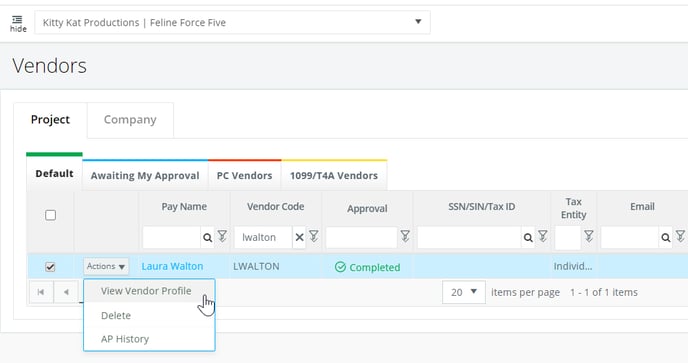
Step 2: Click VENDORS on the left navigation then filter for the vendor's name.
Step 3: Click VIEW VENDOR PROFILE from the Actions drop down menu.
Step 4: Click EDIT.

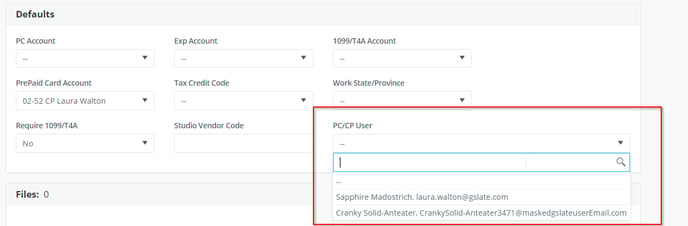
Step 5: Select the user's name from the PC/CP User drop down menu.
Step 6: Click SAVE.
