
- Help Center
- Accounting
- Assistant Accountant/Department Head
How to: Make a Vendor Restricted
Vendors can be made private to restrict users who only have access to submit POs/Bills/Check Requests from viewing/selecting them.
Only users who have approver access will be able to view restricted vendors and have the ability to set a vendor as restricted.
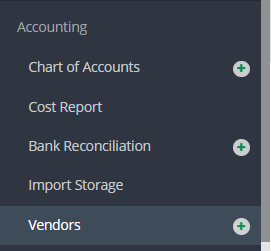
Step 1: On the left navigation click VENDORS.
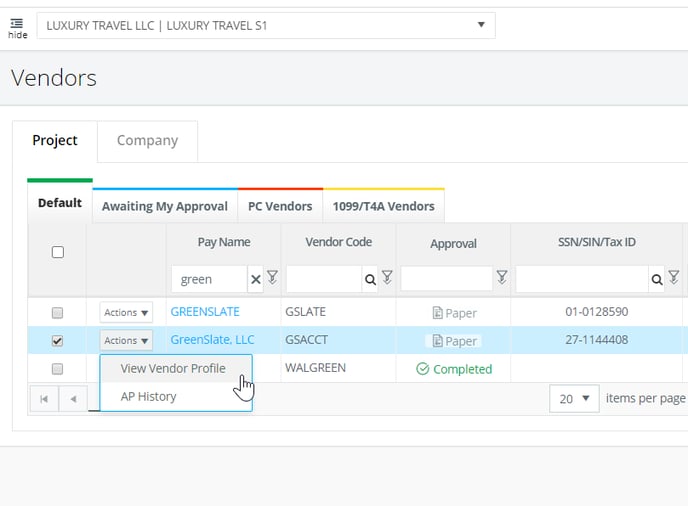
Step 2: Click VIEW VENDOR PROFILE from the Actions drop down menu to the left of the vendor.
Step 3: Click EDIT.

Step 4: Uncheck the box that says "Is Vendor Public" under the vendor name.

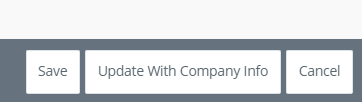
Step 5: Click SAVE.
NOTE: All vendors that are created from an employee will be restricted by default.