
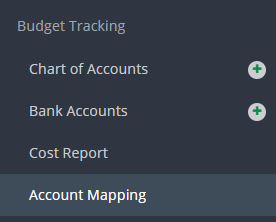
Step 1: Click ACCOUNT MAPPING on the left navigation.
Step 2: Click CREATE NEW MAP.
![]()
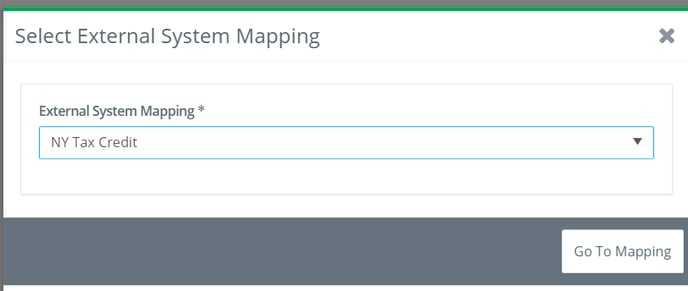
Step 3: Select NY TAX CREDIT from the drop down menu and click GO TO MAPPING.
Step 4: At this point you have the option to:
a. AutoMap: The “AutoMap” button will map a one-to-one mapping where the Project COA and the NY Tax Credit COA account number are exactly the same. This can save time where there is this one-to one relationship.
b. Manually Map: Manually mapping allows you to map each account or group of accounts individually.
c. Combination of AutoMap/Manual Mapping: You can “AutoMap” to map where accounts align in a one-to-one relationship and then manually map those that do not.
To AutoMap:
Step 1: Click AUTOMAP.
The following window will open:
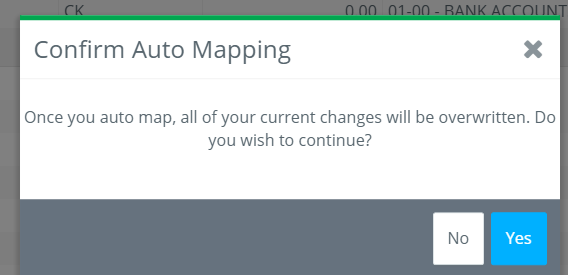
IMPORTANT: IF accounts have already been mapped, you will lose all mapping if you click “Yes”.
Step 2: Click YES and the system will automatically map matching accounts.
Step 3: manually map the remaining accounts
To Manually Map (Tips and Tricks to simplify manual mapping!):
Step 1: Click the COLLAPSE HEADER BUTTON to display only the header accounts.
Step 2: Click the triangle to the left of any given header to expand that set of accounts.
Step 3: Check multiple Project Chart of Accounts of the same type and choose a single destination account.
You cannot map different account types, they must be the same in both the Project Chart of Accounts and the NY Tax Credit.
Step 4: Filter by “Mapped” to see what accounts remain to be mapped.
Until you “Lock” the COA you can make changes and additions to the mapping.